Tutorial: How to use Selectable component properties.
Goal
Creating less components by using the selectable component properties.
Steps
Start a new component (or use an existing one to change).

Open the datasheet for your component. For example the Sun cartridge MWEP.
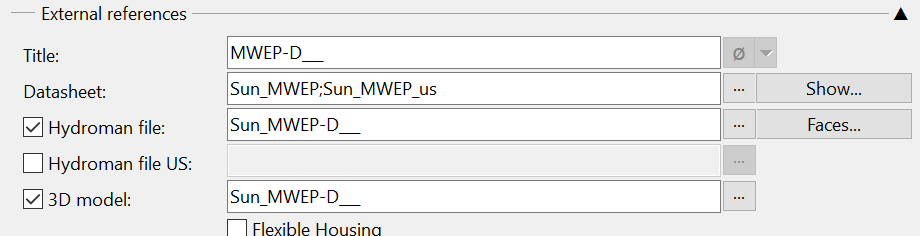
The fixed part is MWEP-D. The selectable parts are Factory set, Seal material and Material/coating.
At saving the selectable parts are saved as an underscore to indicate this (is not necessary).

So the file to save will be MWEP-D___.hcf
Go to the question mark(flexible sections) at Type:
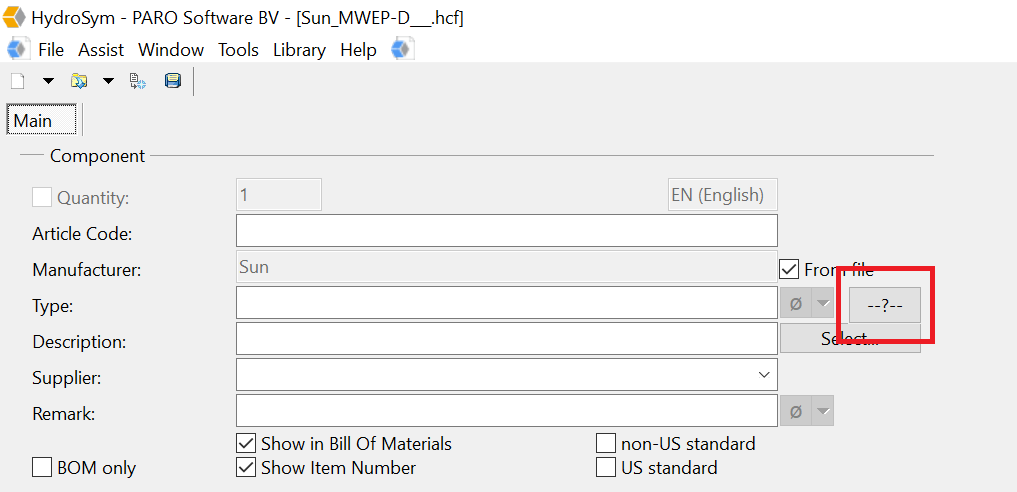
You will see the next window appear.
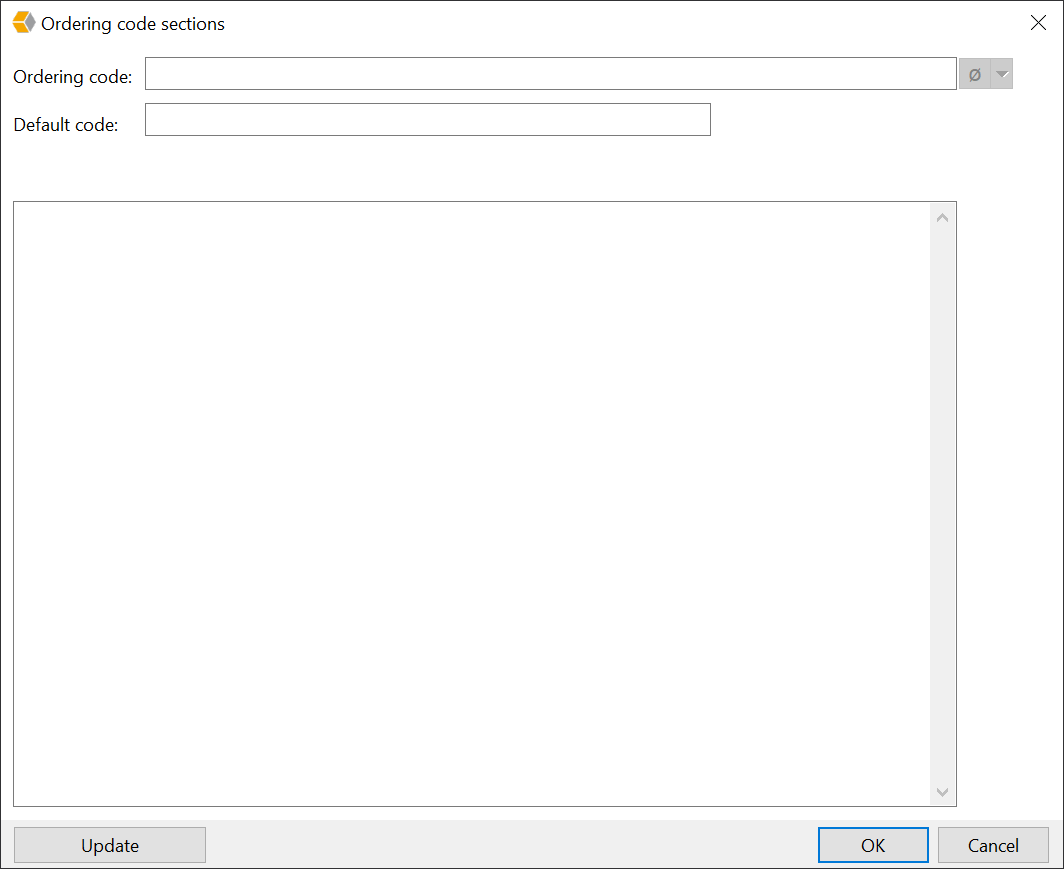
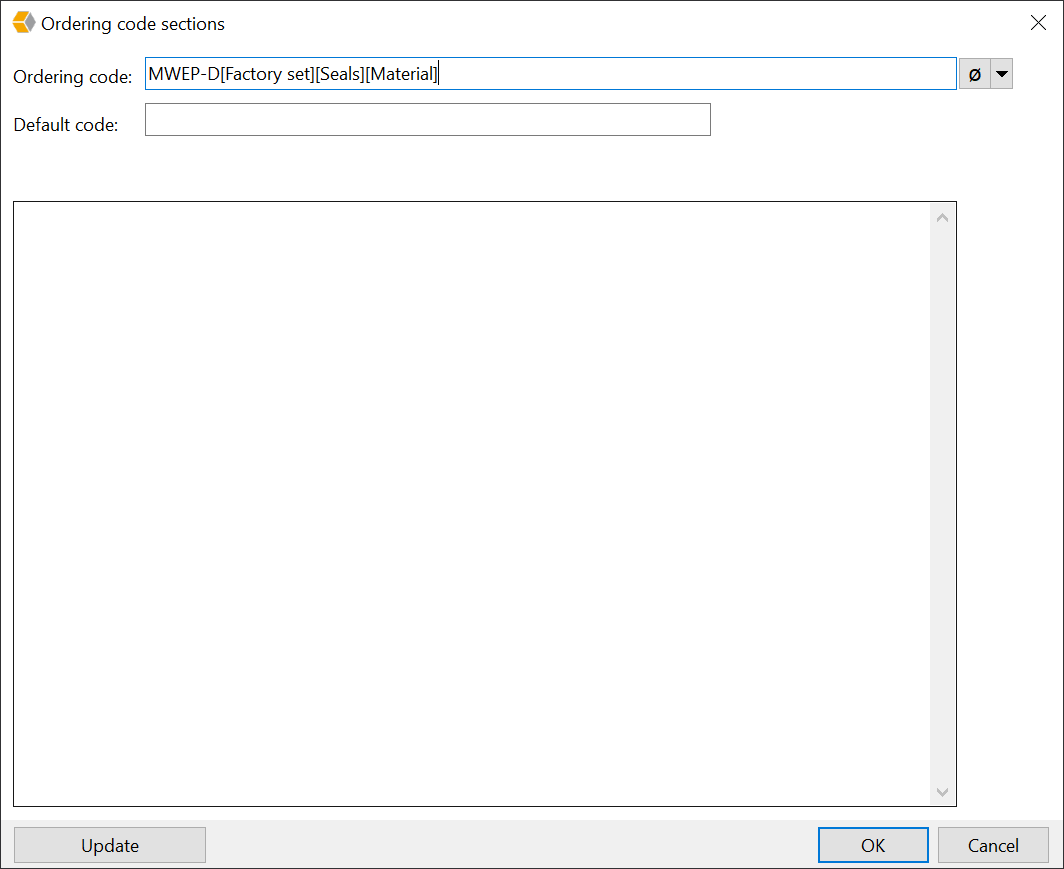
Type at Ordering code: the fixed part MWEP-D. Behind this part we are going to add the selectable parts for the key.
The selectable parts will be like this [……..]
So for the:
factory set -> [Factory set]
Seal material -> [Seals]
Material/coating -> [Material]
Try to keep the names for the variables short. This keeps the Type key readable.
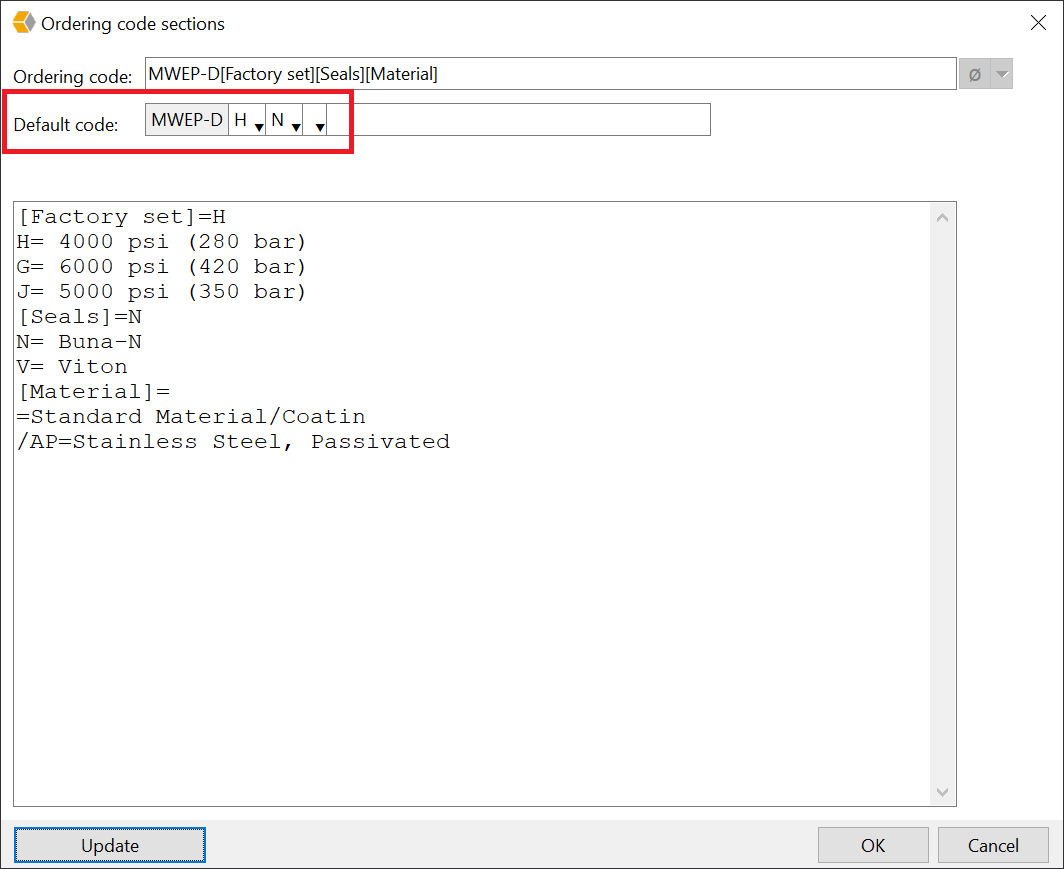
Now press Update to see the key at Default code. The variables are created.
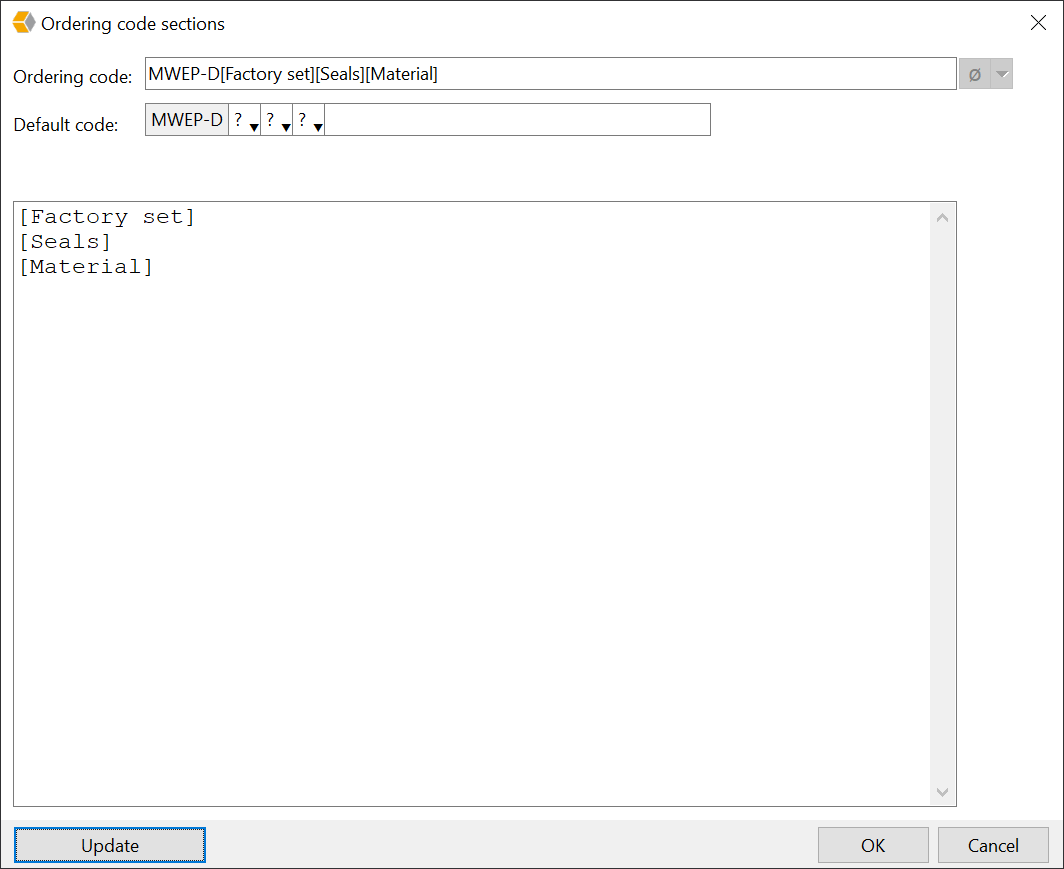
Now you can start adding the information for the variables.
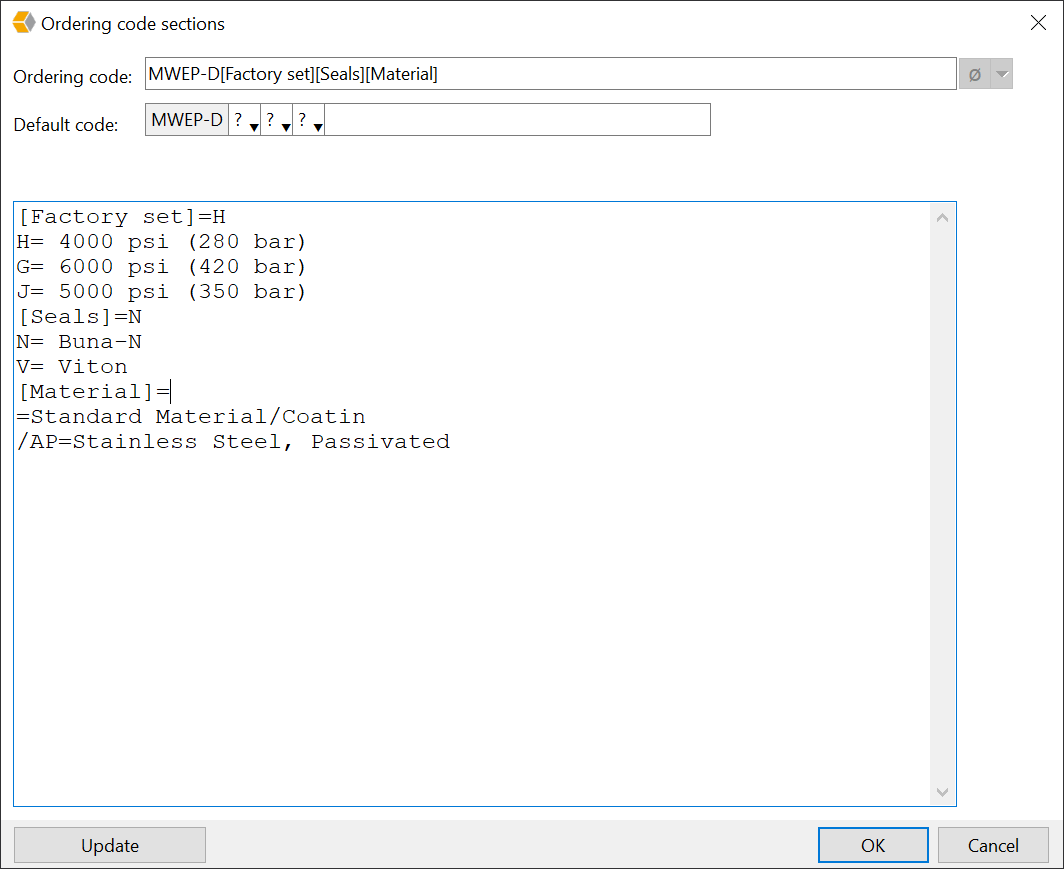
If you have a standard setting you can use this as a default in the key. Add the = sign behind the [….].
For example [Factory set]=H
After pressing Update the Default code will be adapted and this is what you will see in your Bill of materials.
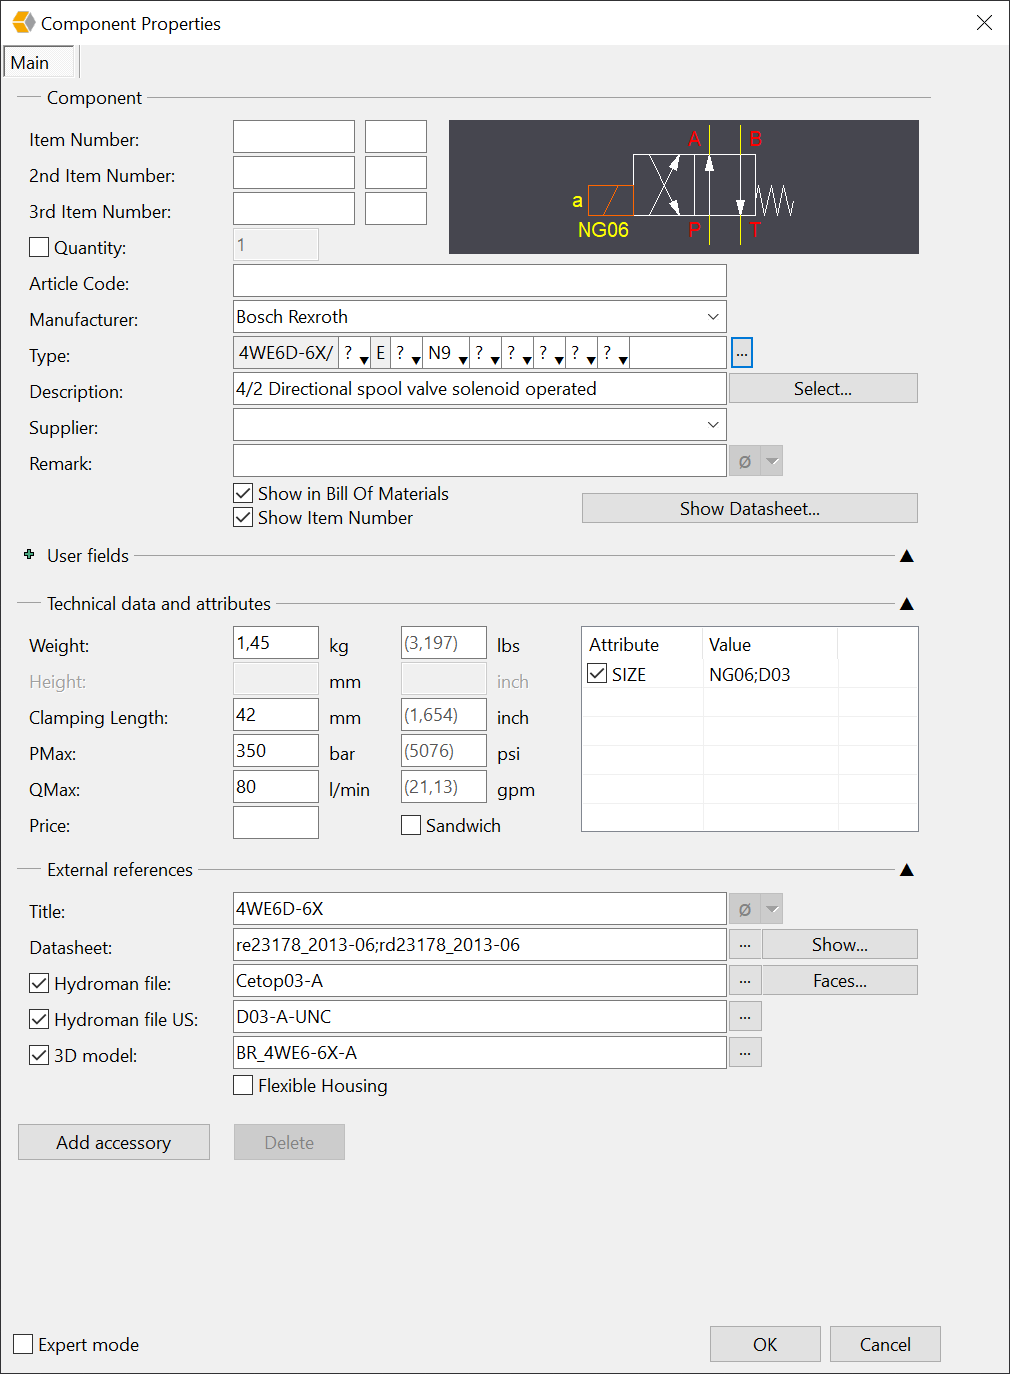
If you have a component with standard settings the best thing to do is to enter those settings in the component data.
If you don’t do this the values will be empty at inserting the component in your schematic. Close the component.
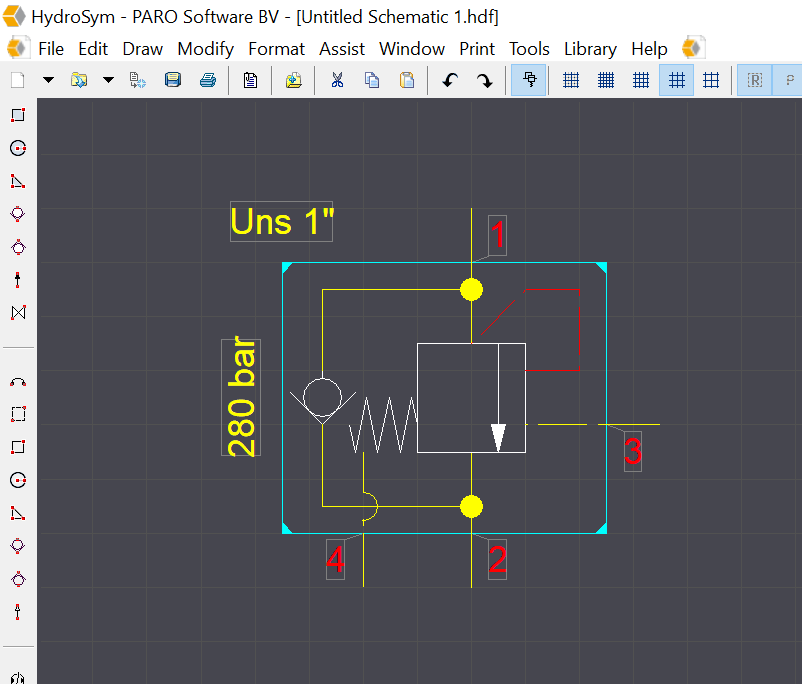
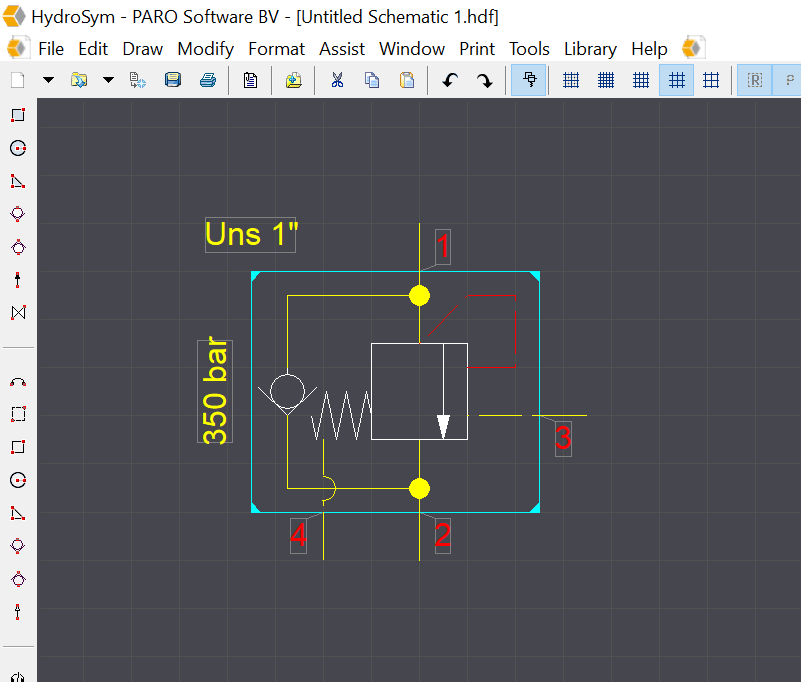
It is possible to change the value automatically for the PRESSURE setting, or other attributes when switching your component to another setting in your schematic. After inserting it in your schematic it will look like this.
Now double click on the component to see the component properties.

Now switch for example the pressure setting from H to J.
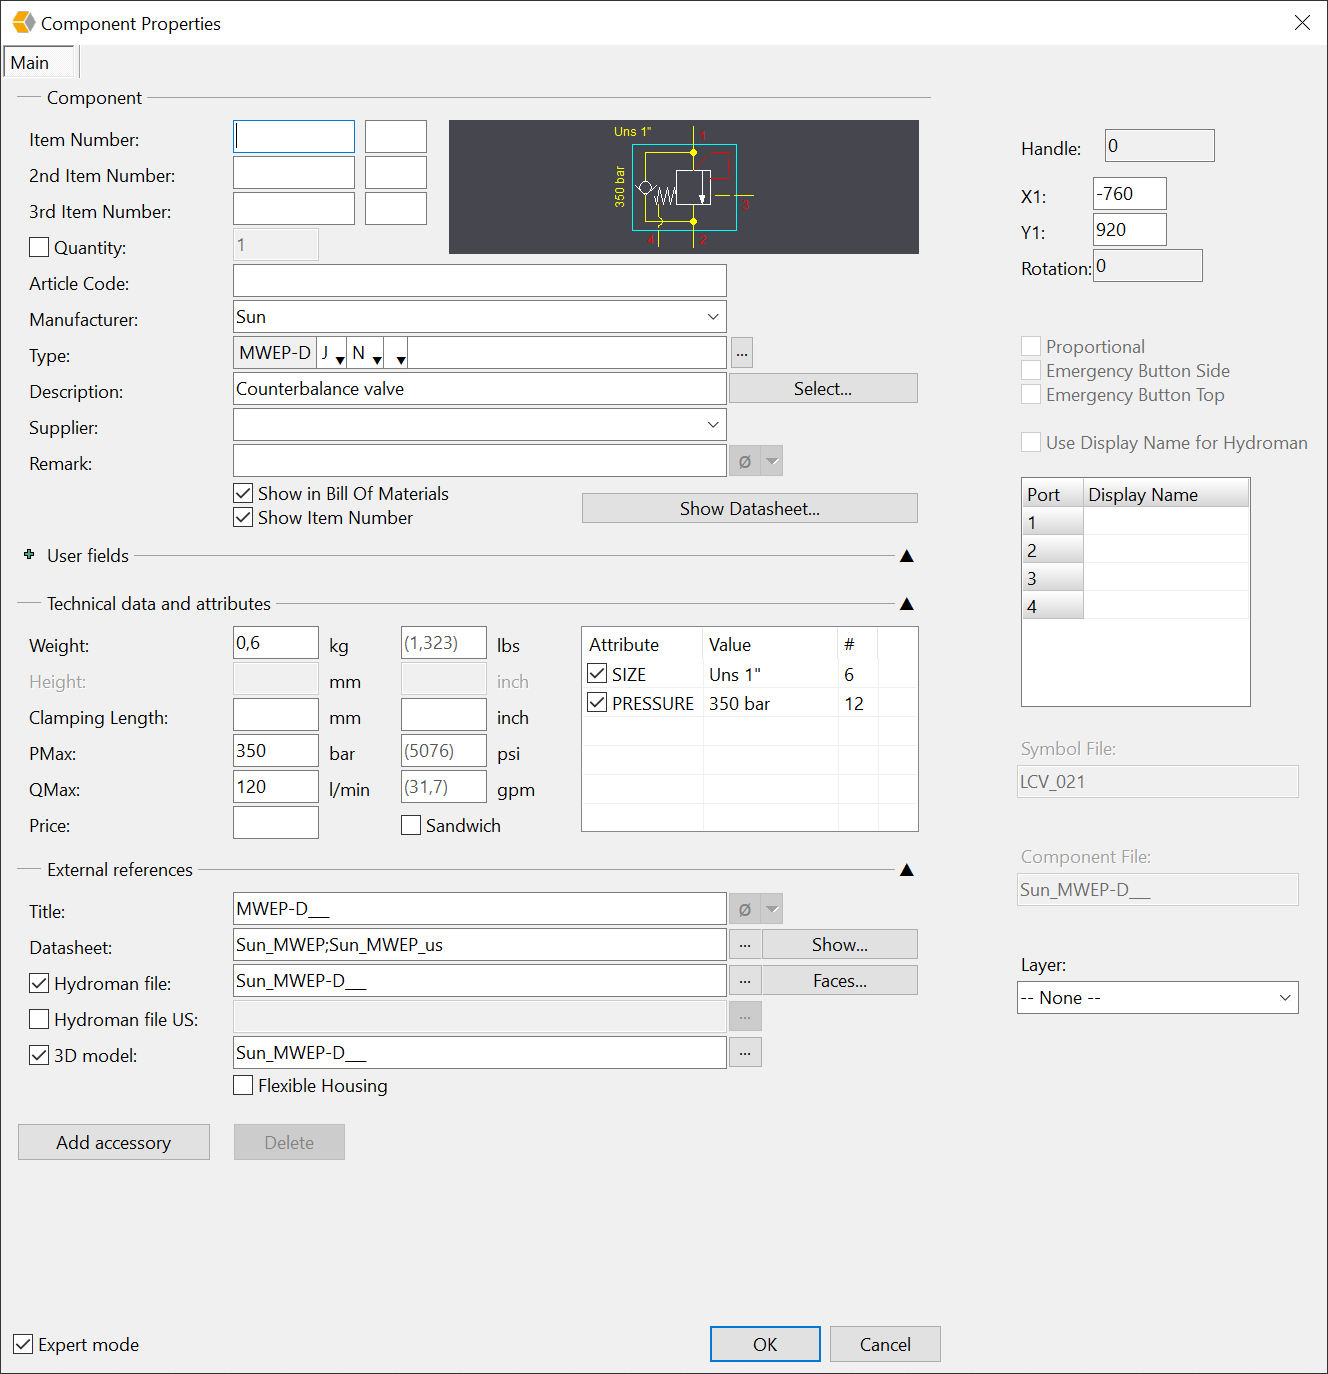
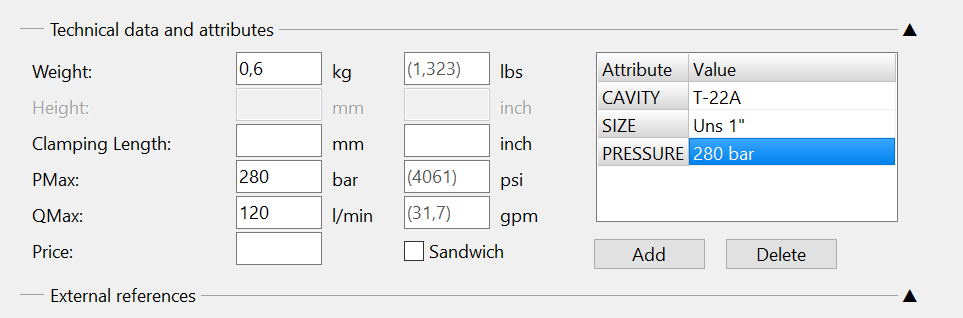
You see the value for the PRESSURE is changed. In the schematic it will change also.
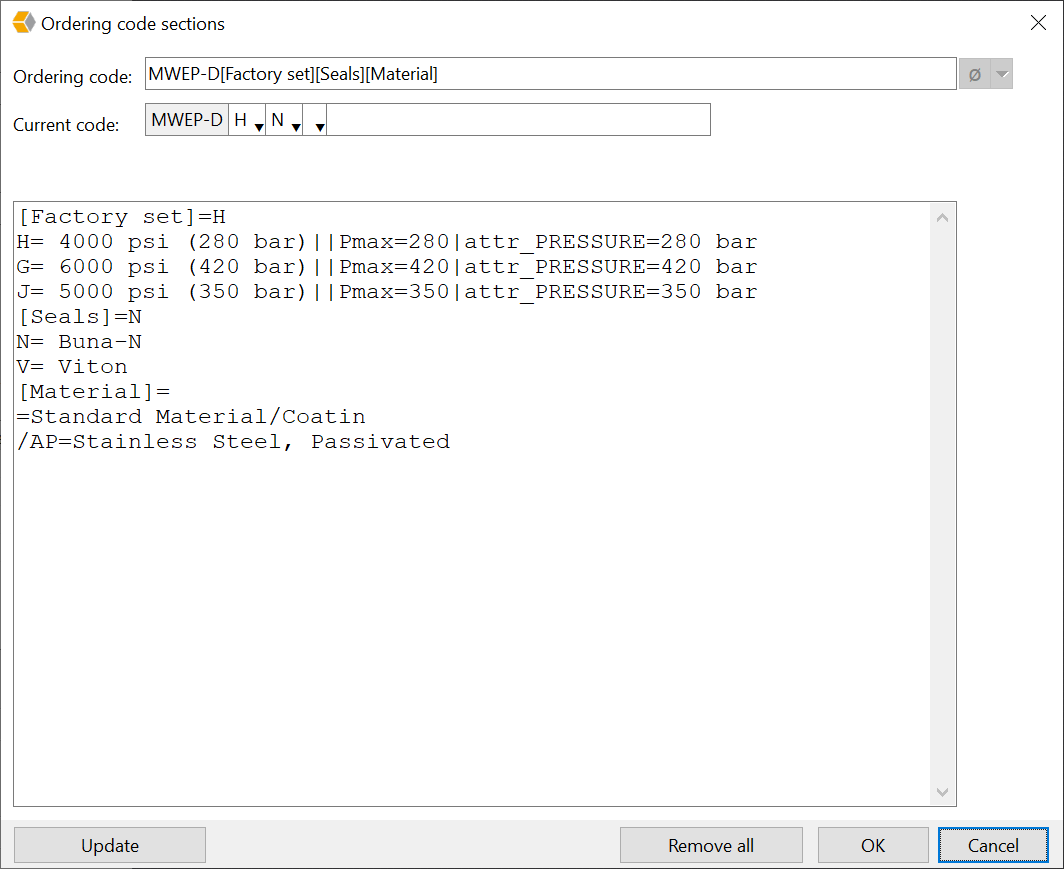
To change the information you have to use the following prefix in the flexible sections.
attr_PRESSURE(or another attribute)=280 bar(or other text).
See picture below.
Changing the information in the Technical data and External references.
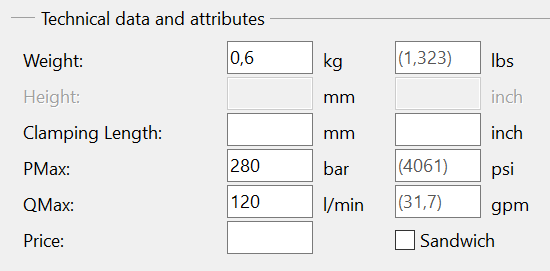
Use the following prefixes:
Weight=…
WeightLBS=…
Height=…
HeightIN=…
ClampingLength=…
ClampingLengthIN=…
PMax=…
PMaxaxPSI=…
QMax=…
QMaxaxGPM=…
Price=…
Sandwich=yes or no
Symbolfile=…
Hydromanfile=…
3DModel=…
Emergencybutton=yes or no
If you have more than one variable you must separate them by the pipe line sign [|].
Rules.
It is possible to create rules in the selectable component properties. With this rules you can make allowed combinations in the code.
For the allowed options you must use:
[name]&[name]
xxxx=xxxx
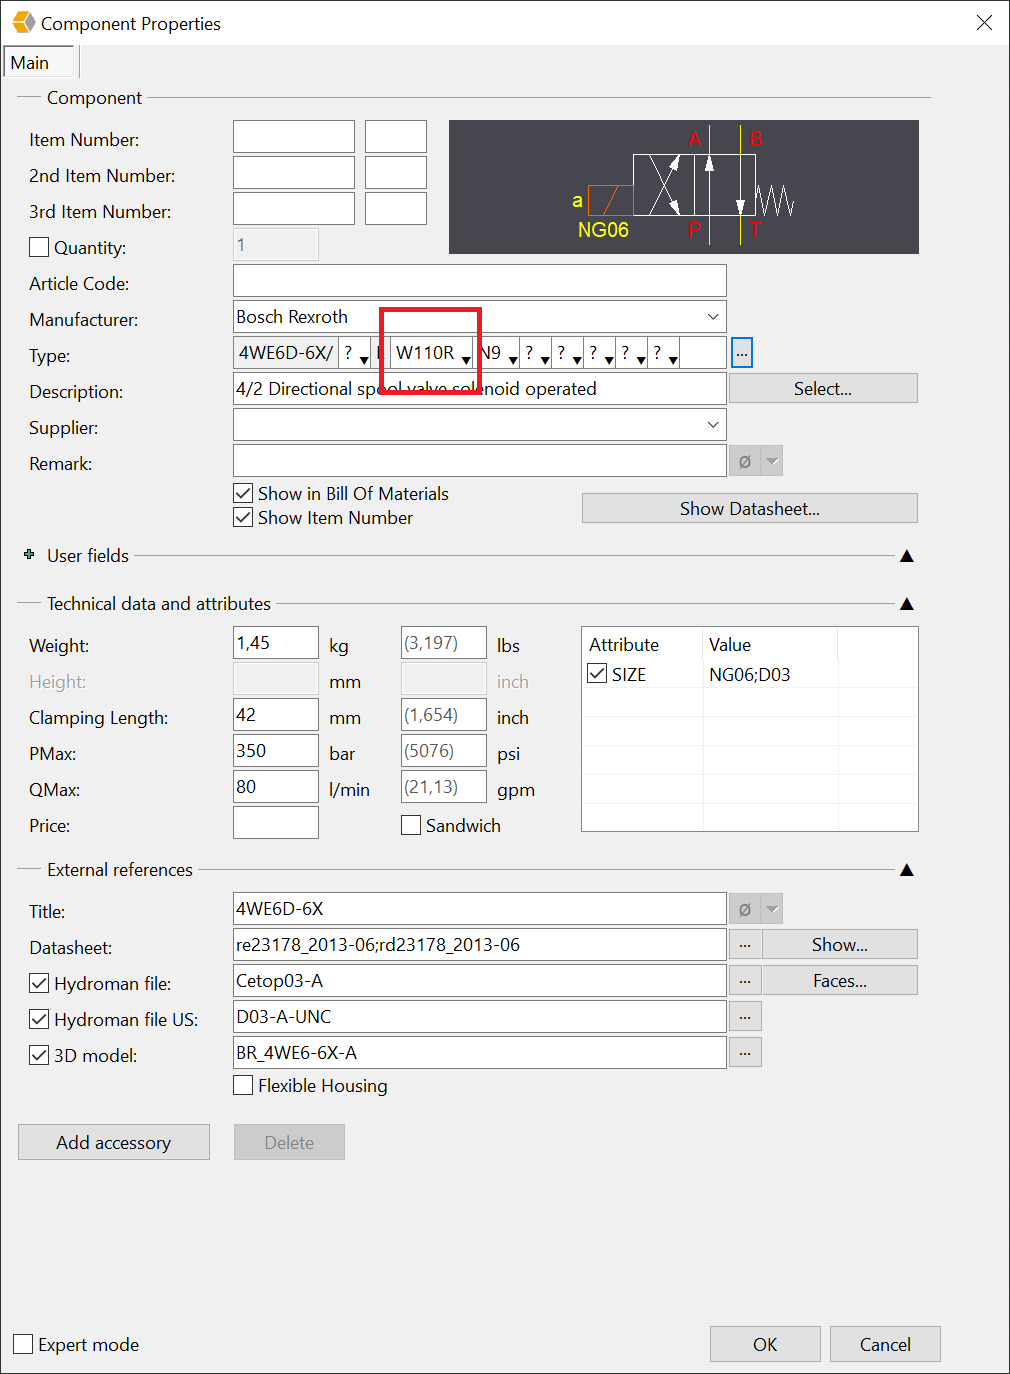
For example a directional control valve from Bosch Rexroth. For the option W110R(DC solenoid with rectifier for AC voltage) is only a central plug-in connection at the cover used. This has the DK6L code.
So the rule will be:
[Volt]&[Plug]
W110R=DK6L
So if you select option W110R only the DK6L will be shown at the selectable part.
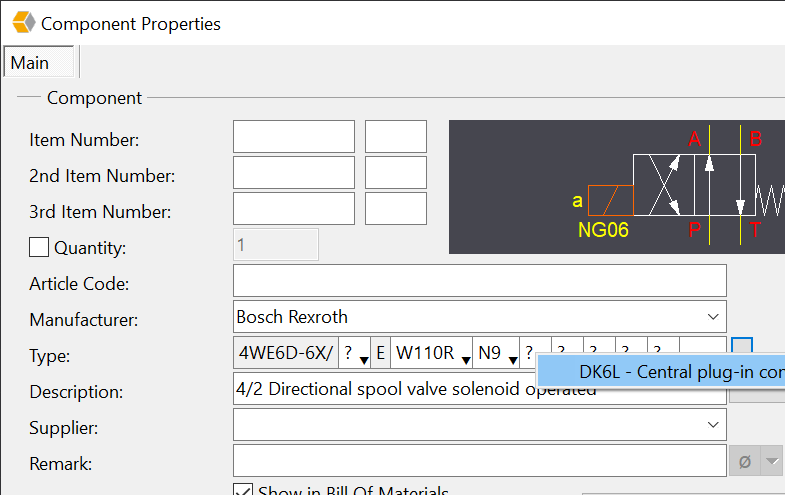
At the next options you will see that there are more options to choose from because there are no rules for it.
If you need more options tocombine you can use(see example RSE)
[[Volt]&[Plug]]
W110R&DK6L=
The ordering code sections used for both examples can be found in the two text files.
Ordering code sections-MWEP.txt, Ordering code sections-4WE6.txt and Ordering code-RSE
The MWEP, 4WE6D-6X and RSE also can be found in the online library including the selectable code.